Pixinsight tutorial, annotate you images
Amongst the various things that Pixinsight does pretty awesomely, there are hidden routines to help you annotate astronomical images.
Open in pixinsight your image to be annotated. To successfully annotate an astronomical image you have to perform firstly an image solving.
This is the process of finding out the exact parameters of the specific astrophotography such as DEC and RA, field rotation etc etc.
So let's start :
Image solver can be found on Script->Image analysis->Image solver
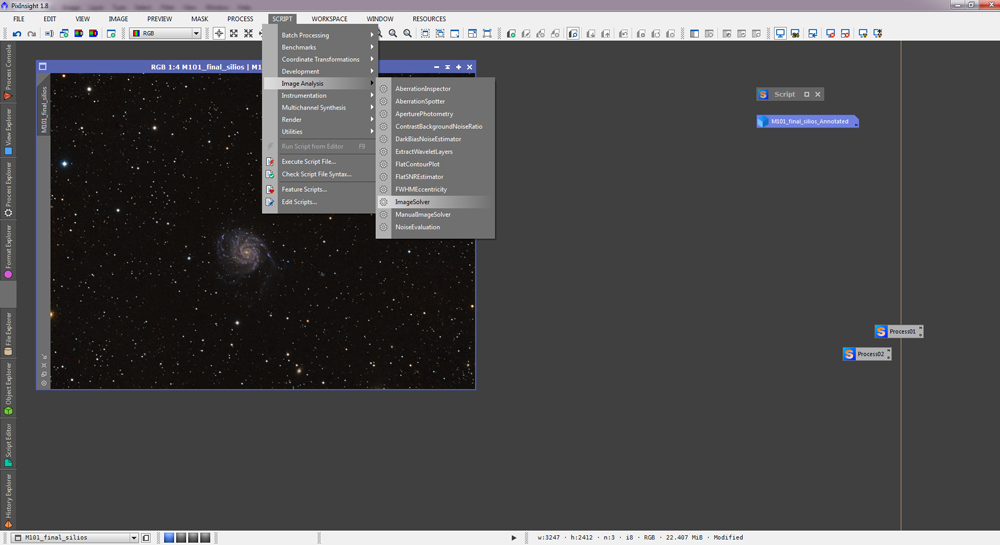
Set resolution of your astronomical image or the focal length of scope used to capture the target.
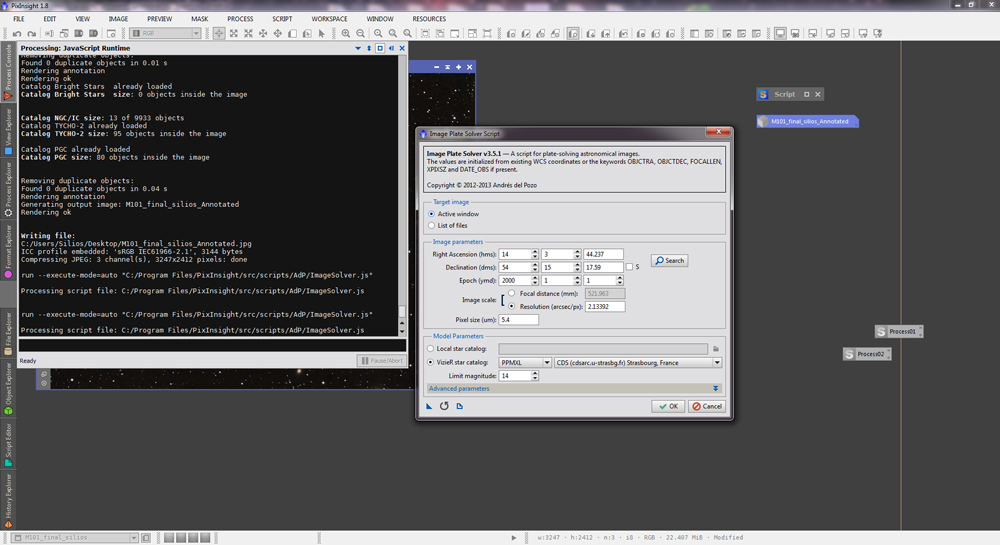
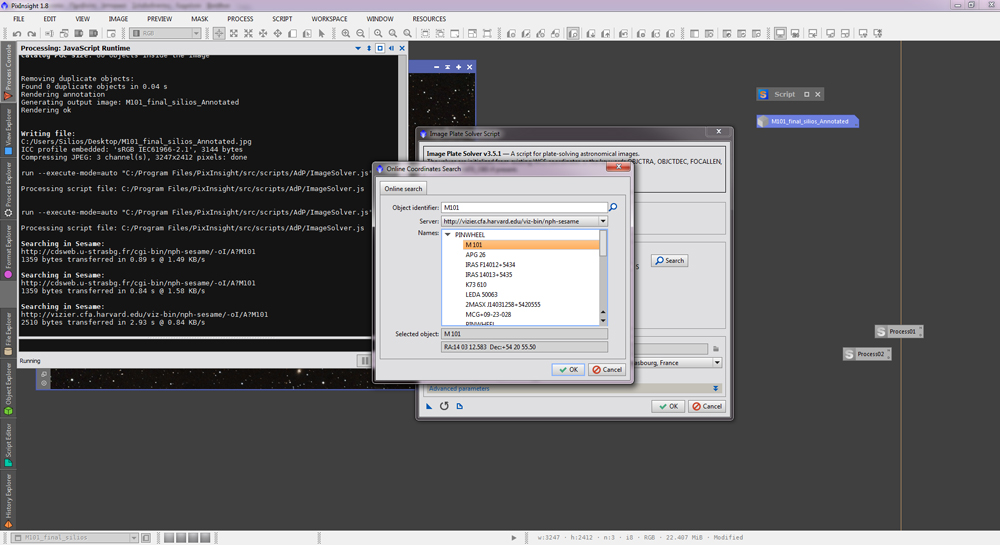
Then click on Search and enter the name of your target, i.e. M101. It will run and usually find your target. Press ok to populate the correct coordinates.
Tip : if the target is not found on the database, you can select from the server drop down the "Vizier" server which usually contains alot more data.
Click OK, even though the processing screen on the top left will still say running. It will download some data, process it and process console wil inform you of a succesfull solve.
Now for the actual annotation:
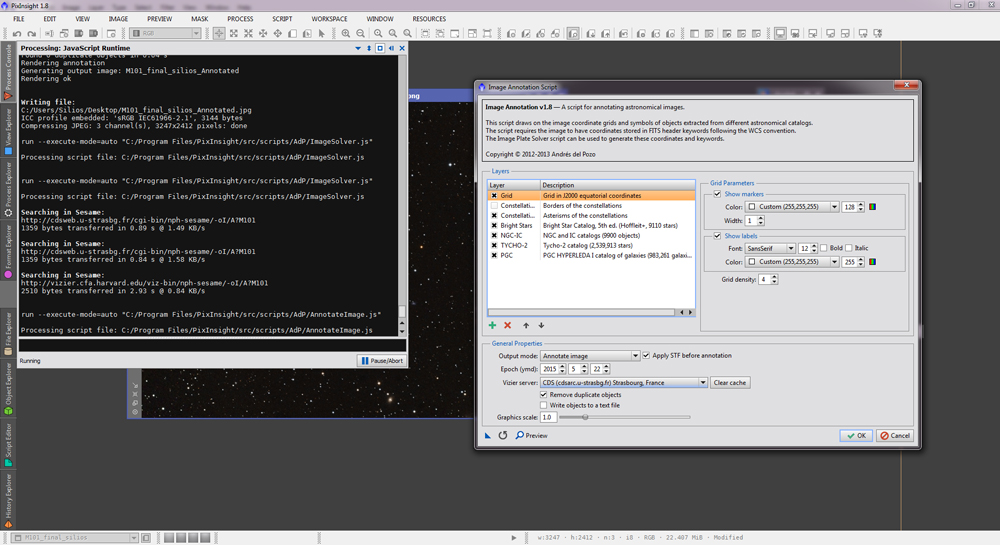
Open up the AnnotateImage script from the menu by going to Script->Render>AnnotateImage.
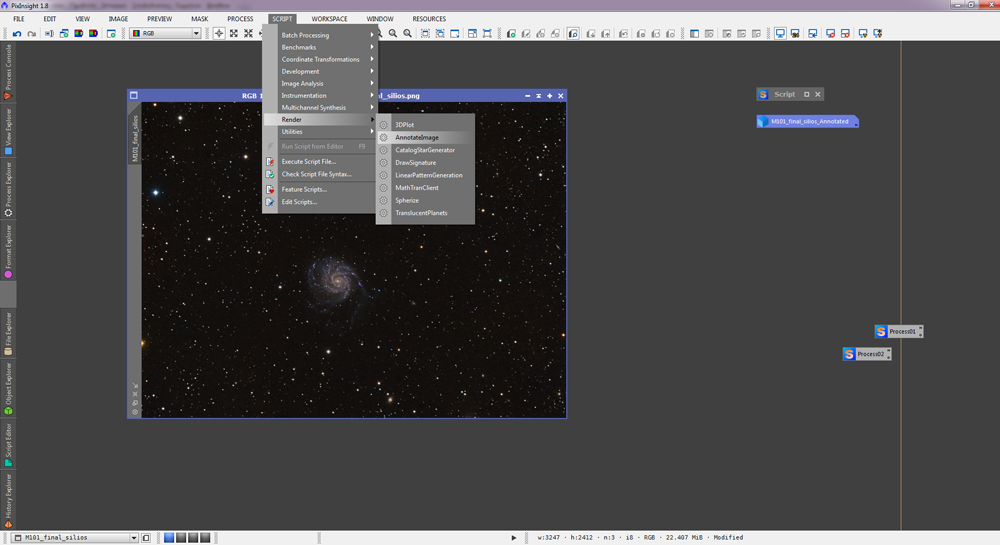
On the main screen you are able to configure allot of parameters such as what types of objects you would like to be included in the annotated version of you image. (constellations,asterims,major stars, NGC and IC catalogue details etc etc)
You can also adjust the font size and letter colours of every category of items you wish to include in order to make it readable or pronounce some particular region of interest.
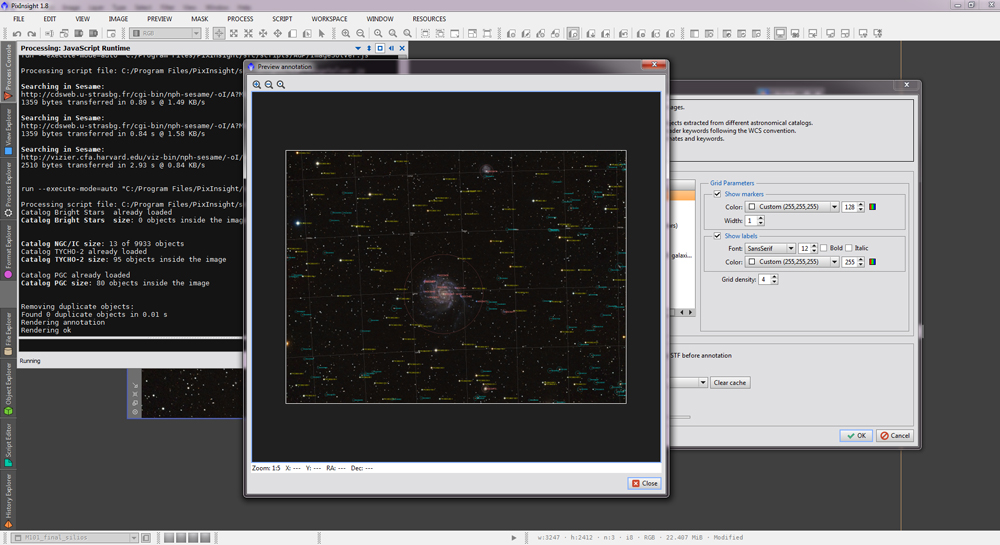
When you are ready press the OK button.
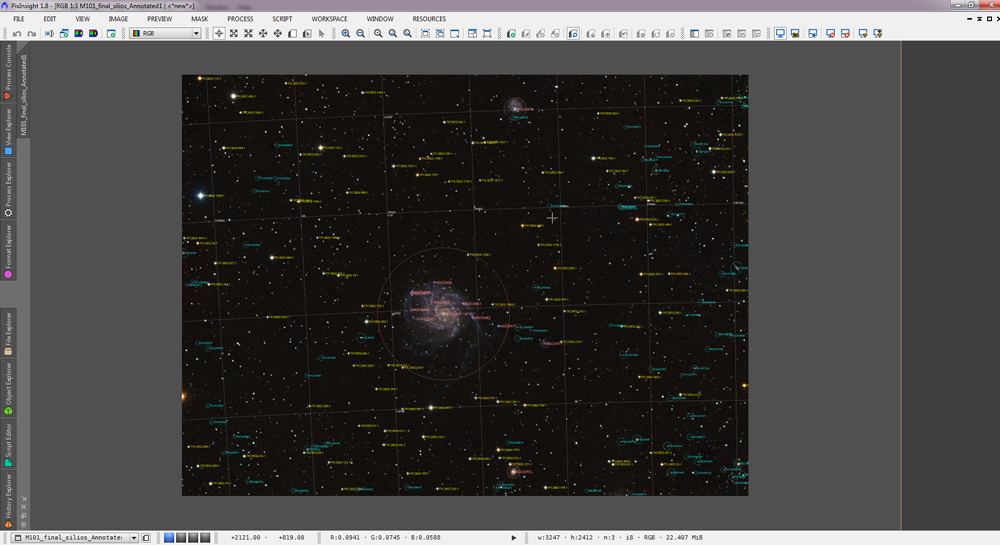
After some number crunching on the process console you are presented with your final annotated version of your astronomical image.
Do not forget to save you final image! :P
Hope you find this tutorial helpful!